
Caulk vs silicone: the practical differences
Scroll across to see all columns.
| Question | Decorator's acrylic caulk | Suitable sanitary silicone |
|---|---|---|
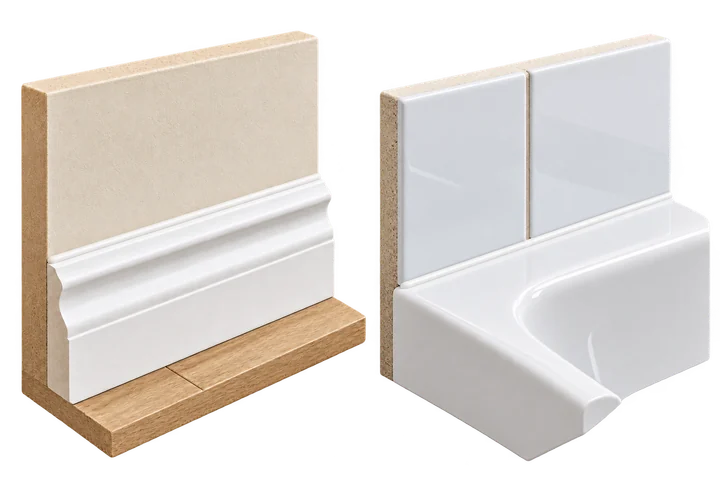
| Typical job | Painted interior joints around skirting, architraves or other specified trim. | Specified joints around sanitary fittings and other compatible wet-area surfaces. |
| Can it be painted? | Usually, using a compatible paint after the product's stated interval. | Ordinary silicone normally resists paint. Choose the finished colour instead. |
| Is it a waterproofing substitute? | Do not use ordinary decorator's caulk in place of a specified wet-area seal. | A suitable joint seal is only one part of the assembly; it does not repair failed waterproofing behind it. |
| How much movement can it take? | Check the product and joint dimensions. 'Flexible' is not an unlimited movement rating. | Check the silicone's movement and substrate specification; not every cartridge suits every joint. |
| When is it ready? | Painting time and full cure can be different. | Skinning time and readiness for water exposure can be different. |
These columns compare ordinary decorating acrylics with sanitary silicones. Hybrid and specialist sealants have their own instructions. A product sold as a 'sealant', or one containing silicone in its name, cannot be classified safely by that word alone.
Soudal's DIY decorator's caulk is an indoor acrylic for joints around trim and can be painted once fully cured. Its silicone painting FAQ explains why ordinary paint will not adhere to silicone. Those are useful product distinctions, not instructions to substitute one everywhere the other appears.
Should you use caulk or filler around skirting boards?
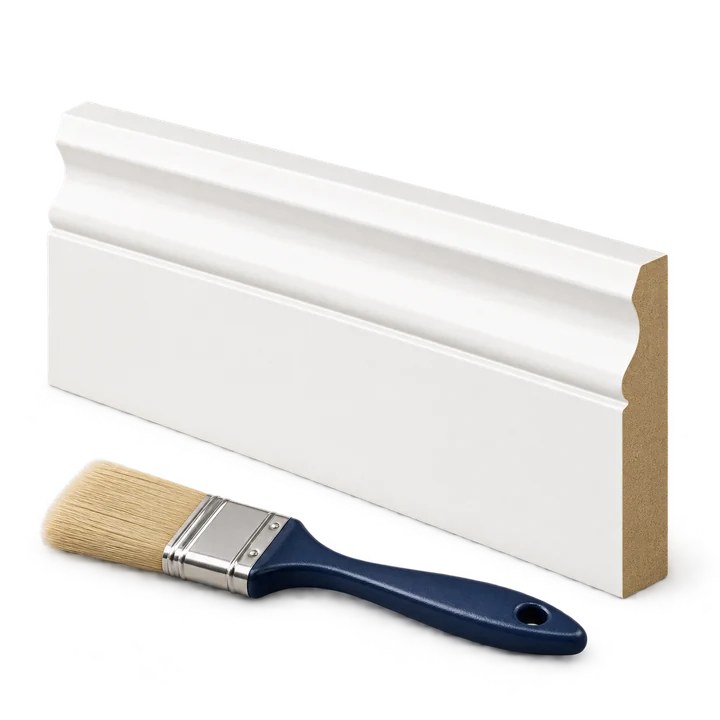
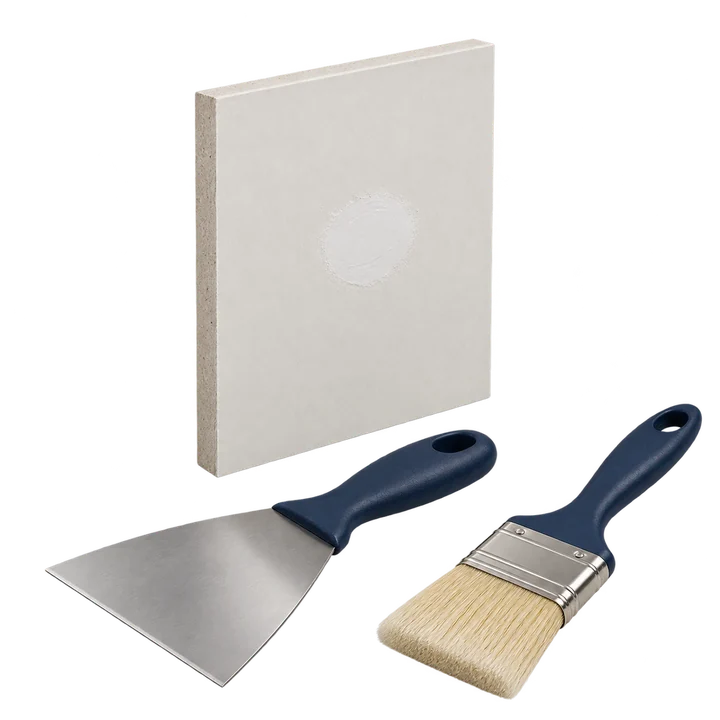
A narrow joint between securely fixed skirting and the wall is a common place to consider a compatible paintable caulk. A dent in the timber, a screw hole or a damaged plaster patch is a different repair and may need a suitable sandable filler.
- A joint between two sound materials: check whether a paintable flexible sealant is specified for their movement and gap dimensions.
- A hole or surface defect: choose a filler intended for that substrate, depth and finish.
- A wide or deep missing section: establish the repair and backing needed; do not bridge an unsupported void with a large bead.
- Loose skirting: secure or repair it appropriately before finishing the joint.
Do not automatically seal the gap where flooring meets skirting. A floating floor may require a movement gap and a particular edge detail. Check the flooring instructions before adding a material that changes that arrangement.
The skirting painting guide covers the coating and floor-protection sequence. For old bracket holes in the wall above, use the wall-filling guide. Caulk, surface filler and load-bearing repairs are separate decisions.
Can decorator's caulk be used around a bath or shower?
Do not replace a specified sanitary seal with ordinary decorator's caulk just because it is easier to paint. Wet exposure, movement and the surfaces being joined need a suitable product and a sound joint design. Water-resistant paint over an unsuitable bead does not turn it into a waterproof assembly.
EVO-STIK's bathroom and kitchen silicone is an example of a product sold for sanitary joints. That label still needs checking against the actual bath, tray, tile, worktop or other material. Natural stone, for instance, may need a different sealant: Soudal's kitchen-sealing example excludes natural stone from the stated product's uses.
If the joint repeatedly opens, leaks or develops mould, establish why before covering it. Movement, water getting behind the fitting, failed backing or ventilation problems are different causes. A fresh visible bead cannot establish that the underlying construction is dry and sound.
This guide helps choose the right type of material. CHS's interior decorating service does not imply that plumbing, shower waterproofing or every sanitary resealing job is included. Describe a wet-area problem separately so the right scope or specialist can be identified.
How do you use decorator's caulk neatly?
For a suitable small interior joint, plan the bead before opening the cartridge. Check the product's permitted surfaces, gap width and depth, preparation and application temperature. Assemble the gun, a suitable finishing tool, protection and the maker's specified cleanup materials.
- Inspect and prepare. Remove failed material using a method suitable for the adjoining surfaces. Establish a clean, sound joint; do not bond new caulk onto loose paint, dust or a moving piece of trim.
- Check joint size. Follow the product's dimensions and backing requirements. Do not improvise by filling a deep gap with several unsupported layers.
- Prepare the nozzle. Open the cartridge as instructed and cut an opening appropriate to the bead. A small controlled opening is easier to enlarge than an oversized opening is to manage.
- Apply a continuous bead. Keep a steady movement and enough material to contact the intended joint faces. Release the gun's pressure when pausing so excess does not keep emerging.
- Tool it within the working time. Form a neat profile with the specified tool and method. Remove surplus before it sets, without spreading a wide film across the wall.
- Let the joint reach the required stage. Follow the painting interval and conditions for that cartridge. Inspect the finished joint before coating it.
Some products specify backing for larger joints. Soudal's linked DIY caulk instructions, for example, give joint dimensions and a polyethylene backer-rod method. Those dimensions belong to that product; check yours rather than transferring them blindly.
Use the product safety information, ventilation and hand protection it specifies. Avoid relying on generic advice to tool every sealant with a bare wet finger or washing-up liquid: cleanup and tooling agents are product-dependent. For an older painted surface, establish a safe preparation method before scraping or sanding unknown coatings.
How long does decorator's caulk take to dry before painting?
There is no single drying time for every caulk. Use the overpainting instruction on the cartridge or technical sheet, together with its required temperature and joint dimensions. A surface skin is not proof that the full bead has cured.
Bostik's drying-time guidance explains that bead size and application conditions affect readiness. Some named products are designed for rapid or immediate painting; others require a longer wait. Do not transfer the timing from a fast-drying product to an ordinary cartridge.
Confirm paint compatibility as well as timing. If the caulk and paint makers' instructions do not settle the combination, ask their technical teams or test an inconspicuous area as directed. Painting too soon or using an incompatible finish can leave cracking, poor adhesion or an uneven result.
For silicone, check the separate time before water exposure. A bead that looks smooth or no longer feels sticky may still need more cure time. Keep the joint out of service for the period the exact product requires.
Once the joint is ready, the coating has its own recoat and curing requirements. Use the paint drying guide for that separate stage, and the paint calculator for the surrounding wall area.
Can you paint over silicone or put caulk on top?
Ordinary silicone normally cannot be painted successfully. If paint beads, separates or peels along a joint, establish what sealant is already there instead of repeatedly adding paint.
Do not assume a layer of decorator's caulk over silicone creates a reliable paintable base. Decide first whether the existing seal performs a necessary wet-area or movement function. Removing that seal and replacing it with an inappropriate acrylic could make the joint fail even if the new paint looks better.
For an ordinary dry interior joint that genuinely needs a painted finish, assess removal of the incompatible material and preparation of the surfaces for an appropriate paintable product. Protect the surrounding finish and follow any remover's substrate and cleanup restrictions. For a sanitary joint, retain a suitable sealing specification and select an appropriate finished colour instead.
If you cannot identify the old material, include clear photos and any product history in an enquiry. Its colour and softness alone do not establish its chemistry or what can safely cover it.
Why does caulk crack or pull away?
Look at where the failure occurs. A split along the paint surface differs from a bead pulling off one edge, and both differ from the wall or trim moving behind it. Photograph the joint before removing anything so the pattern is visible.
- Paint cracking over an otherwise continuous bead: check paint compatibility, overpainting time and movement.
- Caulk separating from an edge: assess surface preparation, adhesion and the materials joined.
- A deep or uneven bead shrinking back: review the original gap dimensions and product limits.
- A joint opening again: establish whether trim is loose or movement exceeds the joint's specification.
- Moisture or staining: resolve the cause rather than using caulk to conceal it.
These are checks, not a diagnosis from appearance alone. Recurring or widening cracks and damp damage need assessment before cosmetic work. The repairs-before-decorating article explains how to separate the underlying repair from the final finish.
What should a decorating enquiry include?
Send a close photo showing the gap and a wider view of the skirting, frame or wall. Give the approximate length and width, whether it moves or gets wet, the material already present if known, and the finish you want. Include removing old material and repainting as separate parts of the work.
For local planning, the Whitton repair notes explain describing an existing fault before replacing parts. The Tolworth page covers repairs and finishing together. Their access advice helps plan a visit; the joint's actual condition determines the treatment.
See CHS pricing and materials for confirmed rates. The cost is not determined by the cartridge price alone: removal, sound preparation, protection, drying and the extent of repainting all belong in the agreed scope.
Sources used in this guide
Show the joint and the finish you want.
Send close and wider photos, your postcode and details of any movement, moisture or previous repair. I can discuss the decorating scope and whether another assessment is needed first.
For booked work, the minimum labour charge and first hour are £50 including VAT, followed by £25 per additional 30 minutes including VAT. Materials are extra at net cost plus 10%, then 20% VAT. There is no separate travel or parking charge. See the rates, materials calculation and quote checklist; the total depends on the agreed work.
Painting and decorating enquiries are welcome from Kingston, Richmond and Merton.
Message me on WhatsApp