
Does the hole need filler or a plasterboard patch?
Choose the repair from what remains around and behind the hole. A shallow defect in a sound surface differs from missing plasterboard over a cavity. Wickes' wall repair guide uses backing for a plasterboard opening and supported replacement board for a larger repair.
Scroll across to see all columns.
| What you can see | Repair to consider | Check first |
|---|---|---|
| Small screw hole or surface dent | Compatible interior filler | Sound, clean edges and an application depth the product allows |
| An opening through broken plasterboard | A supported patch or suitable repair system | Board condition, backing and the wall construction |
| Soft, damp or repeatedly damaged plaster | Assessment before cosmetic filling | The cause of the damage, not just the visible hole |
This guide covers small internal repairs. Extensive loose plaster, recurring cracks and damage around services need assessment. Do not cut into a wall or enlarge an opening when you do not know what is behind it. A detector reading alone is not permission to cut.
How should you prepare the hole before filling?
The filler needs a firm, clean, dry surface to bond to. Remove loose debris without turning a small repair into a larger opening, and brush away dust. Clean dirty or greasy paint using a method suited to the surface, then allow it to dry before applying filler.
Toupret's preparation guidance calls for a hard, cohesive, sound substrate. It also says the source of humidity must be found and stopped before work on a damp or mould-affected surface. Covering the visible damage does not resolve that cause.
Set out the selected filler, a clean filling knife, a small brush, surface protection and the protective equipment specified on the pack. Read the label before opening or mixing anything. If a remaining fixing is secure and still needed, do not bury it by accident. If removing it would disturb electrics or pipework, stop and arrange the appropriate help.
How do you fill small screw holes in walls?
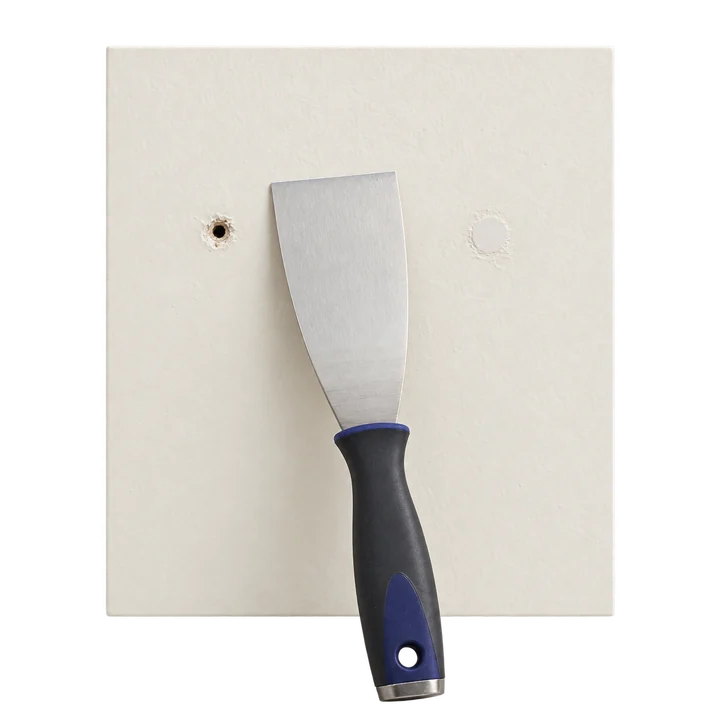
For a sound small hole, work compatible filler into the defect with a filling knife, smooth it to the surrounding surface and leave it to dry. Jewson's small-hole sequence covers cleaning, filling, complete drying and light sanding before decoration.
- Check that the product lists your wall material and the required depth.
- Prepare ready-mixed filler or mix powder exactly as its instructions specify.
- Press filler into the hole rather than leaving only a thin skin across the opening.
- Draw the knife across the surrounding sound surface to remove excess and level the repair.
- Leave it undisturbed for the product's specified drying period, checking any conditions or depth limits.
A heavy mound creates avoidable finishing work. If the dry repair remains low, follow the product's instructions for another application. Filling a redundant screw hole is a cosmetic repair; it does not establish a safe new fixing point for a shelf, mirror or curtain bracket.
How deep can you fill, and how long should you wait?
Use the limits for the exact filler, not a rule based on the word "Polyfilla" or "quick drying". Products differ. Polycell Deep Gap Polyfilla instructions require holes over 20mm deep to be built up in layers, with drying between applications. That threshold belongs to that product.
Toupret Interior Filler, a powder product, specifies no depth limit and a 12-24 hour ready-to-paint interval dependent on substrate, coat thickness and ambient conditions. This does not turn an unsupported opening through plasterboard into a filler-only repair.
Plan the job around the product instructions and the actual repair. Surface dryness, readiness for another layer and readiness for paint may be different stages. Do not transfer one filler's timing to another, or assume a thick repair is ready because the outside looks dry. Check the current pack and technical sheet if the instructions are unclear.
How do you finish the repair without leaving a bump?
Once the selected filler is fully dry and permits sanding, use a sanding block to bring the repair level with the surrounding wall. Work gently, check the edges and remove the dust before decoration. Follow the filler instructions for abrasives and protection instead of using coarse paper across the whole painted area.
The Toupret Interior Filler technical sheet recommends gloves and glasses for application and requires a dust mask when sanding. Read your own product's safety guidance too. Keep the sanding confined to the repair; unnecessary abrasion of old coatings creates more dust and preparation work.
Before sanding older painted woodwork or metal beside the repair, check the coating history. Dulux's technical guidance specifically warns that pre-1960s coatings on wood and metal may contain harmful lead. If that warning applies, get advice on suitable preparation rather than dry-sanding them as an ordinary wall repair.
Look across the dry repair in ordinary room light, then with light falling along the wall. A shadow at the edge can reveal a ridge or hollow that is harder to see straight on. This is a check of the surface shape, not a test of how quickly the filler has dried.
- Firm and dry: the repair has reached the filler's stated coating stage for its depth and conditions.
- Level edges: there is no proud ridge or hollow requiring the product's permitted finishing or further filling.
- Clean surface: sanding dust and loose material are removed without leaving cleaning moisture behind.
- Compatible coating: the filler and chosen paint's preparation requirements have both been checked.
After painting, distinguish a physical ridge from a change in texture, colour or sheen. A ridge needs surface correction; repeated coats may not hide it. A smooth patch that shows only as a different finish needs the paint system and extent of repainting assessed. Judge the dried finish in normal room lighting before deciding on more work.
Should you prime filler before painting?
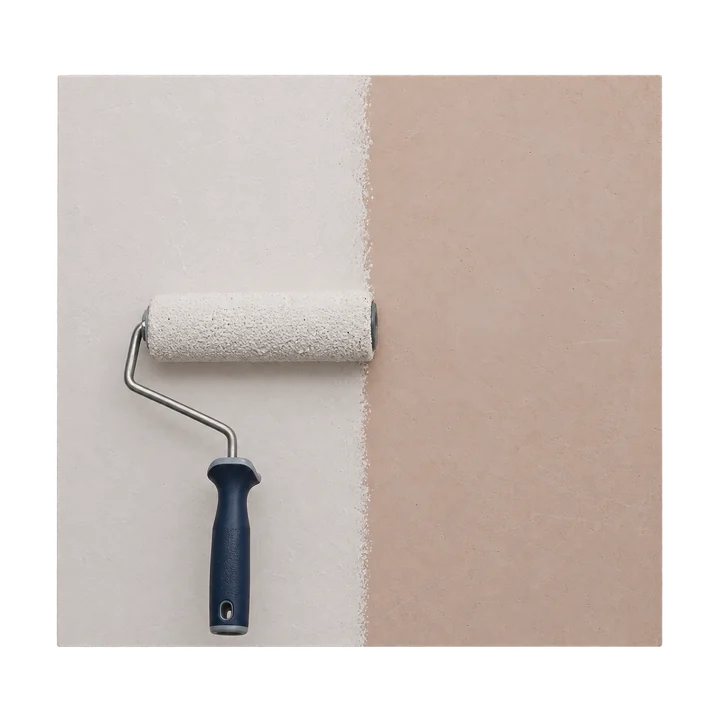
Follow both the filler and paint instructions for preparation before coating. There is no single primer or dilution recipe for every repair. Toupret Interior Filler states that it needs no spot priming, while your chosen paint can still specify treatment for bare or absorbent areas. Check the complete combination before starting.
Dulux Trade Vinyl Matt, for example, requires sound, clean, dry surfaces and gives its own sealing instructions for new or bare areas. Keep the repaired area free of dust and allow any cleaning moisture to dry. Then follow the exact paint's application and recoat instructions. The guide to waiting between paint coats explains why a paint recoat time does not tell you when filler is ready.
If arranging the work, send close-ups, a wider view, approximate repair dimensions and any known cause. Include the existing paint details and whether you want a patch decorated or the wall repainted. Check the painting and decorating service or coverage in Richmond upon Thames, then send your job details. If the repair follows removal of a shelf, use the shelf support checks before planning a new mounting in the same area.
Sources used in this guide
- Valspar: fixing paint problems and visible touch-ups
- Wickes: how to repair a wall
- Jewson: how to fill a hole in a wall
- Toupret: preparing a painted wall for filling
- Polycell: using Deep Gap Polyfilla
- Toupret Interior Filler: product instructions
- Toupret Interior Filler: technical sheet
- Dulux Trade Vinyl Matt: technical sheet 411
Have a wall repair to discuss?
Send me your postcode, close-ups and a wider photo of the damage. Include the approximate size, any damp or previous repair, and whether you want the repaired area or the whole wall decorated.
Painting and decorating enquiries are welcome from Kingston, Richmond and Merton.
Message me on WhatsApp