
Is it new plaster, a skim or a repaired wall?
Ask what material was applied and what is behind it. A thin gypsum skim, a thicker plaster build-up, exposed plasterboard with joint compound and a small filled patch are different starting surfaces. Lime plaster and specialist damp-treatment systems need their own coating advice.
Scroll across to see all columns.
| What you have | What to confirm |
|---|---|
| New gypsum skim | The plaster product, application date, background and coating-readiness requirements. |
| Thicker new plaster or new background | Drying through the build-up, not just the appearance of the face. |
| Bare plasterboard and joint compound | A system suitable for both surfaces and their different absorbency. |
| New patches within a painted wall | Repair drying and local preparation, plus adhesion of the surrounding paint. |
| Unknown, damp or failing surface | Identify the material and cause before choosing a coating. |
This guide covers preparing suitable interior surfaces for decoration. It does not cover applying plaster or diagnosing damp. Keep the plasterer's product and preparation details with the paint information; they are more useful than a photograph of the wall's colour alone.
How long should new plaster dry before painting?
Use the requirements for the actual plaster and coating system, accounting for the background, thickness, temperature and ventilation. The date it was plastered helps with planning but cannot certify that it is ready. If uncertain, ask the plasterer and coating supplier to confirm the approach before painting.
British Gypsum's plaster-system guidance warns that Thistle HardWall can appear dry at the surface while still drying in depth. It also distinguishes fully dried backgrounds for impermeable finishes from suitable permeable interim decoration. That exception needs the correct product specification; it does not make every matt paint suitable for a wall still drying.
A dark patch or continuing moisture needs investigating. Conversely, an evenly pale face is only an observation, not a moisture reading or proof of readiness. Follow the plaster supplier's ventilation and drying advice rather than directing strong heat at the wall to meet a painting deadline.
Do you need a mist coat or a plaster sealer?
A mist coat is a first coat of an appropriate paint diluted as its manufacturer specifies for the surface. A dedicated primer or sealer is a different product with its own application instructions. Choose a complete compatible route; do not combine several primers or add extra water because the wall looks absorbent.
Scroll across to see all columns.
| Named product example | What its instructions distinguish |
|---|---|
| Dulux Trade Supermatt | A specified thinned first coat for new or bare surfaces, separate from normal finishing-coat dilution. |
| Crown Trade Covermatt Drywall Primer | An undiluted primer for suitable new surfaces, followed by the chosen finish after drying. |
| Zinsser Gardz | A dedicated sealer for specified porous surfaces, applied without thinning and allowed to dry before compatible decoration. |
These illustrate different systems, not interchangeable recommendations for every wall. Check the current pack and technical sheet for the exact product, substrate and intended finish. Confirm suitability if a lime or specialist plaster needs a particular vapour-permeable system.
Do not substitute ordinary PVA adhesive for the specified paint primer. A bonding product used beneath plaster does not establish that it is suitable beneath your finish paint. Ask the coating manufacturer if an unknown coating or adhesive is already on the wall.
How do you prepare and paint the new plaster?
- Confirm readiness and clear the room. Establish the first-coat and finish products, protect floors and adjacent surfaces, and provide stable access. Plan ventilation within the products' application conditions.
- Inspect in good light. Look for loose material, contamination and defects. Remove surface dust using the specified method. Do not aggressively sand an otherwise sound new skim or an unknown old coating.
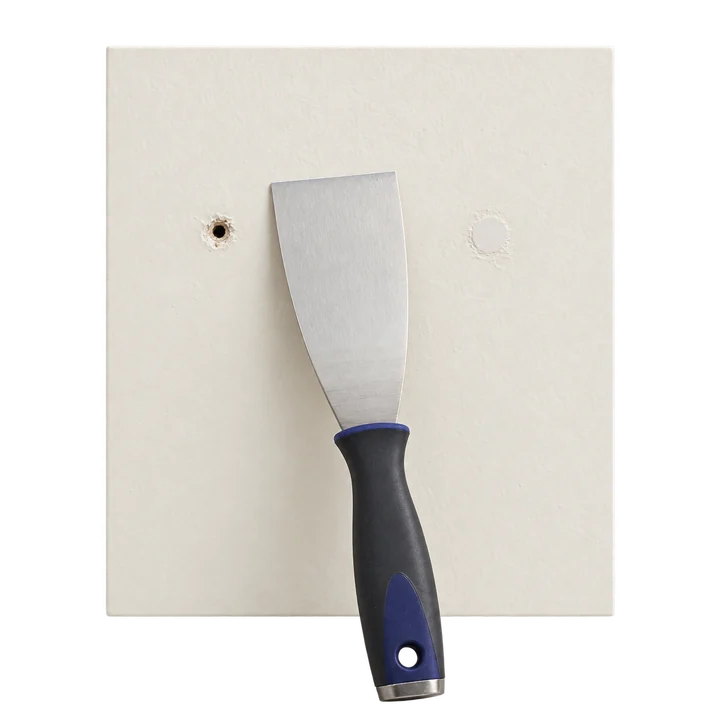
- Complete suitable repairs. Follow the selected filler or repair material's depth and drying instructions. The wall-hole preparation guide explains the difference between a small surface repair and damage needing a proper patch.
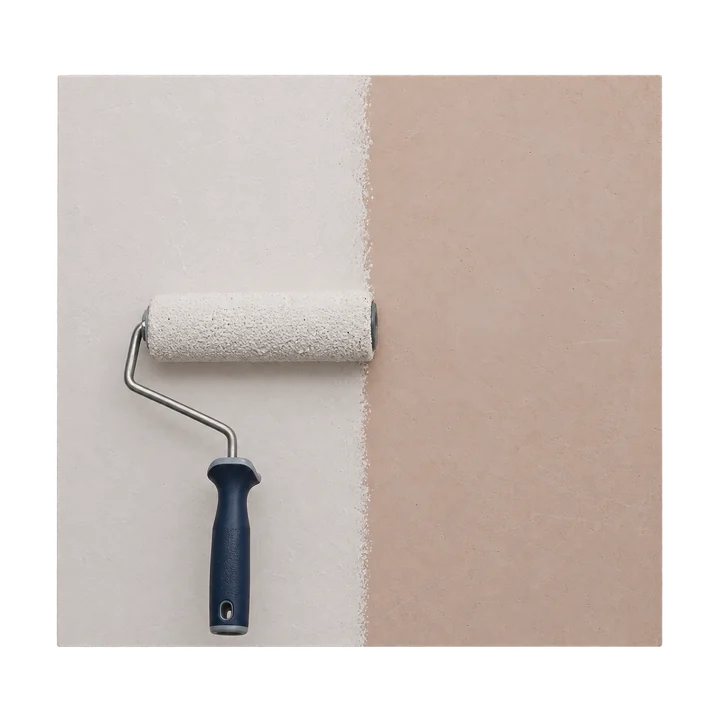
- Mix and apply the specified first coat. Measure any permitted dilution rather than guessing. Use the recommended tool and coverage, keeping preparation consistent across the wall.
- Let it dry and inspect. Look for missed areas, runs, rough repairs or signs of failure. Treat any new filled patches as the coating system requires before proceeding.
- Apply the compatible finish coats. Follow their coverage and recoat instructions, allowing for the actual conditions. Keep a record of the product and colour for later maintenance.
Brewers' new-plaster guide also separates preparation, first coating and finishing. Its general timing and dilution examples do not replace the instructions for your materials.
For a concrete application example, Dulux's Supermatt sheet calls for consistent dilution between cutting-in and rolling, working one wall at a time. Follow your own paint's method; do not assume a sealer should be applied like an emulsion.
Do repaired patches need the same treatment as a new wall?
A filled area can absorb paint differently from the surrounding existing finish. Check the repair material's drying and priming instructions and the condition of the old paint. The whole wall does not automatically need a diluted coat simply because a few holes were filled.
Crown's Covermatt Obliterating Emulsion sheet specifically addresses touching in surface filling made after priming. It also gives different preparation for powdery and polished surfaces. Those distinctions show why a patch, a sound painted surface and bare new plaster cannot share one preparation rule.
Do not use sealer to conceal continuing damp, substantial loose plaster or an unresolved crack. If a coating lifts, blisters or remains soft, stop and establish the cause before putting more paint over it.
When can you apply the finish and complete the room?
There are separate waiting stages: readiness of the plaster, drying of the primer or first coat, intervals between finish coats, and the finish developing its resistance to normal use. Completion of one stage does not establish the next.
See the paint-recoat guide for the difference between touch dry, recoatable and cured. If skirting is part of the job, the skirting-board guide covers its separate preparation and floor protection. Check tape suitability and timing before masking a newly painted wall.
For an enquiry about interior painting and decorating, send the room details and plaster product if known. Discuss surface readiness, preparation and the desired finish before agreeing the appointment. A painting enquiry does not mean underlying plaster repairs or damp treatment are included.
Sources used in this guide
- British Gypsum: plaster systems and decoration requirements
- Dulux Trade: Supermatt technical data
- Crown Trade: Covermatt Drywall Primer technical data
- Crown Trade: Covermatt Obliterating Emulsion technical data
- Zinsser UK: Gardz product instructions and data sheet
- Brewers: preparing and painting new plaster
Tell me about the walls you want painted.
Send your postcode, room and wall photos, when the plaster was applied and its product or type if known. Include any existing primer or paint, unresolved patches or moisture, your chosen finish and whether ceilings or woodwork are part of the job.
Painting and decorating enquiries are welcome from Kingston, Richmond and Merton.
Message me on WhatsApp