
What kind of door and finish are you painting?
Check the door before choosing a colour. Record its material, any manufacturer label and whether the current finish is sound, peeling, stained or already rubbing against the frame. A white surface can be a factory primer rather than a finished coating.
Scroll across to see all columns.
| Starting surface | What to establish |
|---|---|
| Sound, previously painted door | Existing finish, contamination and the new system's adhesion preparation. |
| Bare timber or exposed repairs | Compatible primer and any knot or stain treatment specified by the coating maker. |
| Factory-primed door | The supplier's finishing requirements, including exposed edges. |
| Veneer, laminate or another factory finish | Whether repainting is permitted and which products are suitable. |
| Old coating of unknown composition | A safe preparation assessment before sanding, scraping or stripping. |
XL Joinery's interior-door advice puts product compatibility and the door's finishing requirements before application. Do not assume that every door can use the same primer or that a factory finish can be sanded like solid timber.
If the door catches before painting, address that first using the sticking-door checks. More paint will not correct poor clearance or a loose hinge.
Which paint and primer should you choose?
Choose paint whose instructions include the actual door surface. The desired sheen is only part of the decision: check preparation, primer, tools, coat count, coverage and normal-use requirements together. A leftover wall emulsion is suitable only if its manufacturer expressly allows that use and substrate.
Primer and undercoat have different roles within a paint system. Bare patches, stains or a difficult existing finish may need specific treatment even when the rest of the door is already painted. A 'self-undercoating' label is not permission to ignore bare material or adhesion.
For a named example, Dulux's interior-door demonstration uses its wood primer and Quick Dry Satinwood system. Its brief method is not a universal instruction for laminate, every previously painted door or another brand's finish. Keep the door supplier's guidance alongside the instructions for the exact tins you intend to use.
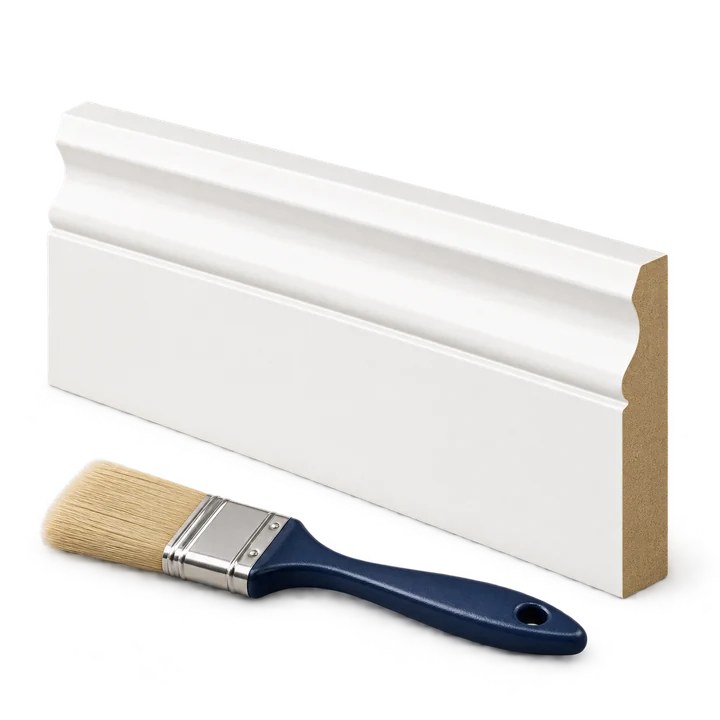
For the whole doorway, decide whether the frame, architrave and skirting are included and whether both sides should match. The skirting-board guide covers protecting the adjoining floor and working around carpet.
How should you prepare the door and room?
Clear enough space to reach the full face and protect the floor. Plan access to the room while the door is being worked on and while it dries. Decide whether appropriate hardware can be removed and refitted, or protected in place. Keep screws and matching parts together; do not paint over moving hardware, latch openings or identification labels.
On an ordinary internal door, painting in place can avoid unnecessary handling where all required surfaces remain accessible. Taking a door off needs suitable support, handling and a plan to refit it correctly. Do not remove hinges simply because a general painting video does so.
Assess unknown old coatings before disturbing them. HSE's old-lead-paint guidance identifies dry sanding and stripping as exposure risks. Do not start with a power sander or heat treatment to discover what is underneath. Establish a suitable preparation method first.
Once safe preparation is established, clean away grease and residues using the selected coating system's instructions, allow the surface to dry and complete compatible cosmetic repairs. Prepare adhesion as specified, remove debris and inspect the face in good light. Loose or peeling layers need their cause addressed; filling over them does not make a stable base.
Fire doors and flat entrance doors need a separate plan based on their certification and maintenance requirements. Do not remove or coat seals, alter gaps or disable closing devices as part of an ordinary repaint. The British Woodworking Federation's maintenance guidance explains why the complete assembly matters.
Should you use a brush or a roller?
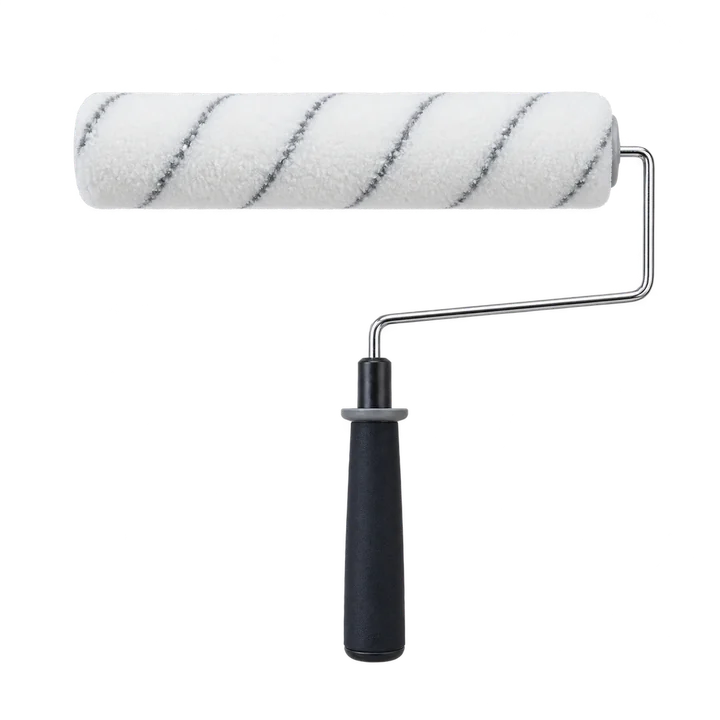
A brush reaches panel recesses, mouldings and narrow edges. A small roller can help cover broad flat sections when the paint manufacturer specifies a suitable roller and finish method. The right choice depends on both the door's shape and the coating; a foam roller or a particular bristle type is not right for every product.
Check the recommended tool before buying it. For instance, Dulux's cited Quick Dry Satinwood demonstration uses a synthetic-bristle brush. XL Joinery illustrates brush and roller work in its own door-painting example. Treat those as examples to match to your selected coating, rather than combining every technique indiscriminately.
Keep the tray, brush and roller free of debris. Work in good light so you can see missed areas and wet build-up. If the tool leaves an unwanted texture, check the product's application guidance before adding thinner or changing its consistency.
What order should you paint a panelled door in?
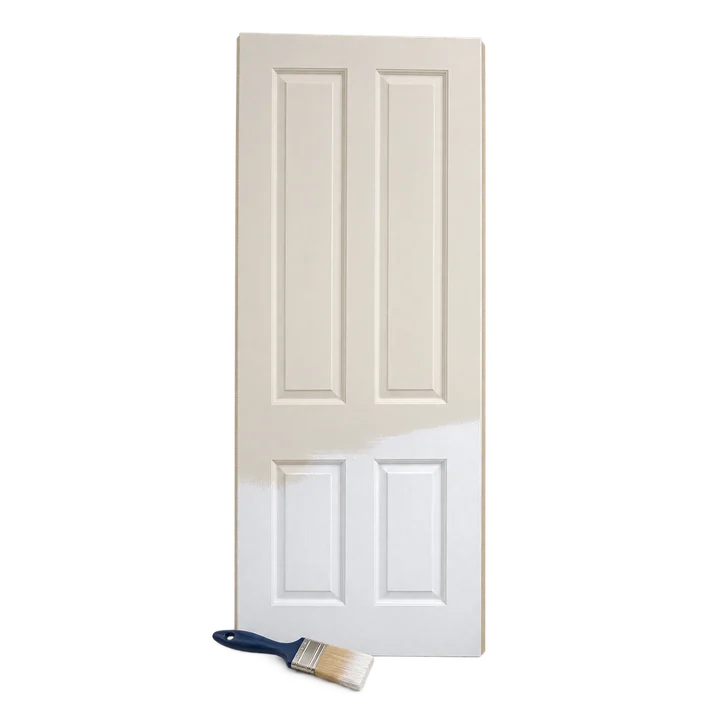
Finish any specified priming and undercoating first. On a conventional panelled door, a manageable sequence is edges, recessed panels and mouldings, then the surrounding vertical and horizontal members. These members are called stiles and rails. Match the sequence to the actual design and keep an eye on adjoining wet edges.
- Work the accessible edges carefully. Avoid ridges collecting where an edge meets a face. Newly exposed timber must receive the finish required by the door maker; do not leave inaccessible edges outside the plan.
- Coat recesses and panels. Reach into moulded corners without leaving pools. Inspect beneath horizontal details where excess paint can collect.
- Complete the surrounding members. Work along each rail or stile and even out joins while the paint remains workable. Keep paint off protected hardware and seals, and avoid excessive paint build-up at edges that meet the frame while completing the door manufacturer's required finishing.
- Check the wet face. Look from an angle for runs or missed patches. Correct them within the product's working time rather than repeatedly brushing partly dried paint.
- Allow the specified drying stage. Inspect and prepare between coats only as the system requires, then apply the remaining finish coats.
For a flush door, work across the uninterrupted face in manageable sections using the specified tool and wet-edge method. Do not attempt to create panel-style divisions on a flat surface. For its own coating, Crown Trade's Fastflow Quick Dry Satin sheet specifies maintaining a wet edge and finishing timber strokes in the grain direction.
When can you recoat or close the door?
Use the selected paint's stated conditions and drying stages. Touch dry, ready to recoat and ready for normal contact are different. Check room temperature and ventilation against the instructions; do not assume a 'quick dry' label means the door can immediately be shut against its stop.
For example, the cited Crown Fastflow sheet gives a 4-6 hour recoat interval under its stated normal conditions of 20°C and 65% relative humidity, with longer drying possible in colder or more humid conditions. It separately says newly painted doors must be fully dry before closing. That is a product-specific example, not a timetable for another paint or every room.
Plan drying around household access before starting. Avoid allowing fresh painted surfaces to touch until the coating is ready for that use. Refitting handles, turning the door over or applying masking tape can also mark a surface that feels dry but has not reached the required stage.
The paint drying guide explains those distinctions. Keep the product details so you can check later cleaning and maintenance requirements. If the coating sticks, wrinkles or lifts, identify the cause and let it reach the appropriate repair stage instead of forcing the door shut or immediately adding another coat.
What affects the price of painting interior doors?
Count door faces as well as doors. One face of a sound flush door is a different scope from both sides of several panelled doors with frames, repairs and a colour change. Include preparation, hardware handling, required coats, access and any separate visits needed for the chosen system.
Colin Home Service charges £50 for the first hour, then £25 per additional 30 minutes, including VAT. The minimum labour charge is £50 including VAT. Materials use their net cost plus 10%, then 20% VAT. Travel and parking are not charged separately.
Two hours of labour would therefore be £100 including VAT, before materials. This illustrates the rate calculation, not a two-hour completion promise or a price per door. Agree the work, products, visits and total before booking; the pricing guide explains the materials calculation.
For a painting and decorating enquiry, send your postcode, the number of doors and faces, photos of their condition, paint details if known, and whether frames or skirting are included. Mention how the rooms need to remain accessible. Where parking is difficult, arranging a suitable space or permit if possible helps plan the visit.
The East Sheen decorating notes cover planning smaller wall and woodwork jobs, plus address-specific access. If doors are part of a wider room refresh, list them separately from the walls and skirting so the preparation and finish can be agreed for each surface.
Sources used in this guide
Plan the doors and the finish together.
Send your postcode, door photos, the number of faces and any paint details. Include frames or skirting you want finished, visible damage and how access to the rooms needs to work during drying.
Painting and decorating enquiries are welcome from Kingston, Richmond and Merton.
Message me on WhatsApp