
What should you check before buying picture fixings?
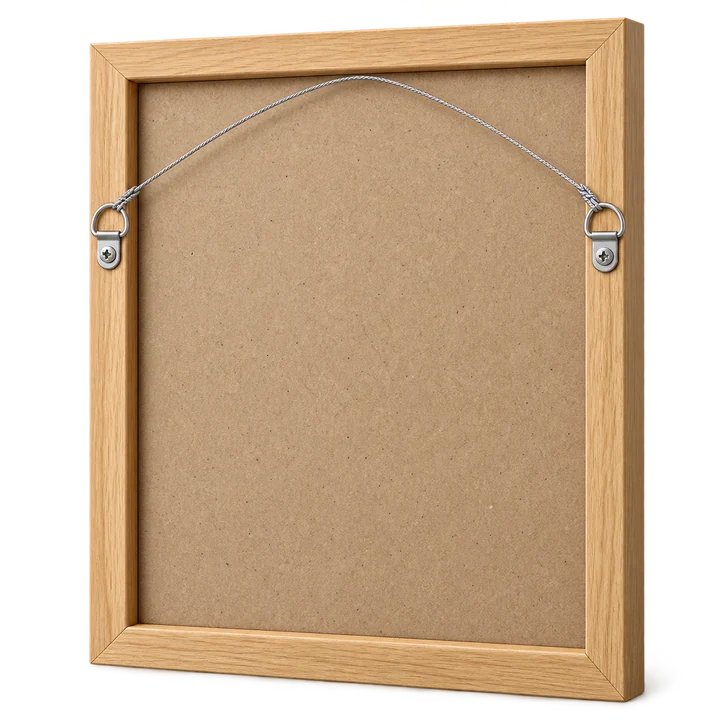
Start with the complete framed item: artwork, glass, backing and frame. Record its weight and dimensions, then inspect the rear. A wire, a pair of D-rings, a sawtooth hanger and a proprietary rail need different supports. Use the frame maker's designated hardware; a decorative edge or stand is not a hanging point.
Write down what you know about the wall: board type and thickness if documented, timber or metal framing, backing, cavity space and condition. A hollow sound alone cannot distinguish all wall systems. Do not make exploratory holes just to identify a surface if concealed services or the construction are uncertain.
- Photograph the whole frame and its rear fittings.
- Weigh it, rather than estimating from its size.
- Mark the intended area on a wider wall photograph.
- Note sockets, switches, radiators, existing damage and nearby furniture.
- Keep the frame and fixing instructions together.
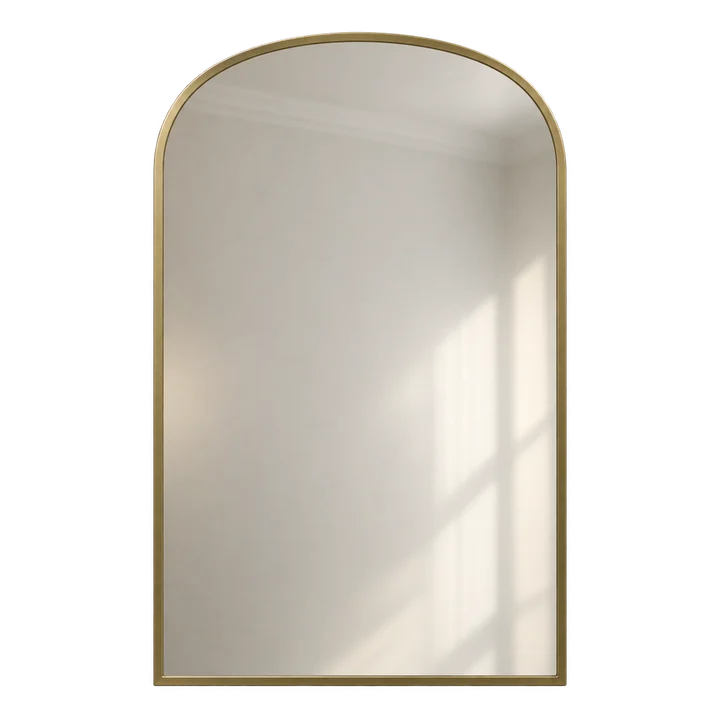
If you rent, agree any required permission for holes or adhesive products before fitting. For a heavier reflective item, the heavy-mirror guide also covers handling and mirror-specific mounting hardware.
Is it a stud wall or plasterboard over masonry?
Plasterboard is a lining, not a complete description of its support. The same painted finish can hide different constructions. Identify which material will actually carry the fixing before selecting its type or screw length.
Scroll across to see all columns.
| Construction | What changes the fixing decision? |
|---|---|
| Board on timber studs | Known stud positions may offer support, but the screw, embedment and hidden-services checks still matter. |
| Board on metal framing | Do not apply timber-stud screw assumptions to a thin metal member. Use a system specified for the construction. |
| Board with a clear cavity | Cavity anchors need the specified board thickness and enough space to deploy behind it. |
| Board bonded or fixed over masonry | The gap and masonry behind it affect the fixing method; a toggle may have no room to open. |
| Damaged, damp or uncertain board | Resolve the condition and support before treating the position as a usable fixing point. |
The fischer plasterboard guidance distinguishes fixing types and says to follow the maker's load specifications. The label 'plasterboard fixing' does not remove the need to match the actual board and application.
Which picture hooks or wall plugs should you use?
Choose the complete system: wall support, anchor or hook, screw where required, and the frame's hanging fitting. Its suitability is limited by the weakest part. A high-rated anchor cannot make a damaged frame hanger or weak board sound.
Light-picture hooks specifically intended for plasterboard can be an option within their instructions. For example, fischer Fast & Fix is a product intended for light loads. That does not make an ordinary nail or any similar-looking hook equivalent.
A cavity fixing can distribute load behind the board where the wall and available void suit it. fischer DuoTec illustrates a tilting support behind the panel. Check the exact variant's board, cavity, drilling and screw requirements; do not copy a drill size from a photograph or a different fixing.
Some universal plugs include board applications, but their installation and load data vary with the substrate. fischer DuoPower lists several materials; this is a reason to read the specific technical data, not to assume all plastic plugs work in plasterboard.
Do not double a published load rating simply because you plan to use two fixings. Spacing, load direction and the way the frame shares its weight matter. Likewise, a plug intended for solid masonry is not automatically suitable in the plasterboard sheet. If the full arrangement cannot be verified, ask a competent installer to assess it.
How high should you hang a picture?
Choose the visible frame position first, then calculate the fixing marks. There is no compulsory height for a home: consider seated or standing viewing, the furniture beneath it, the whole wall and the sightline from the doorway.
For a group, lay the frames out on the floor and measure the complete arrangement. Paper templates can help compare gaps and positions, provided any temporary tape is suitable for the wall finish. Keep a note of each frame's width, height and rear fitting offset; equal top edges do not necessarily mean equal hook heights.
Fixing height = intended top of frame − distance from frame top to the loaded hanging point. For example, if the intended top is 170 cm above the floor and the hanger sits 8 cm below that top, the fixing mark is 162 cm high. This is a measurement example, not a recommended universal picture height.
For a hanging wire, measure the supported position as it will sit on the intended hooks; slack changes the height. For paired D-rings or a rail, follow the frame instructions and measure the actual spacing. Check level and opening doors before marking permanent holes.
How do you fit it once the position is agreed?
- Check the wall and concealed services. Review the construction, nearby fittings and available information, and use suitable detection equipment according to its instructions. A clear detector reading is not a guarantee that a location is safe.
- Confirm the fixing specification. Match the board, support, cavity and load to the exact product. Verify the screw or hook and frame hanger work together.
- Mark the actual fixing points. Use the frame measurements and a level. Recheck spacing against the back of the frame before drilling or inserting a hook.
- Install by the fixing maker's method. Use its stated hole size, depth, setting method and tightening instructions. Avoid crushing the board by over-tightening; stop if the fixing spins, the face breaks or the wall moves.
- Hang with controlled support. Use suitable access and help for awkward items. Engage the intended hangers fully and check the frame is properly seated before releasing its weight.
Bosch's detector instructions explain conditions that can hide cables and the need to de-energise relevant live cables before drilling. Follow the detector's full procedure, including its requirements during detection. If hidden services cannot be established confidently, stop and get appropriate help rather than drilling on the strength of silence from a scanner.
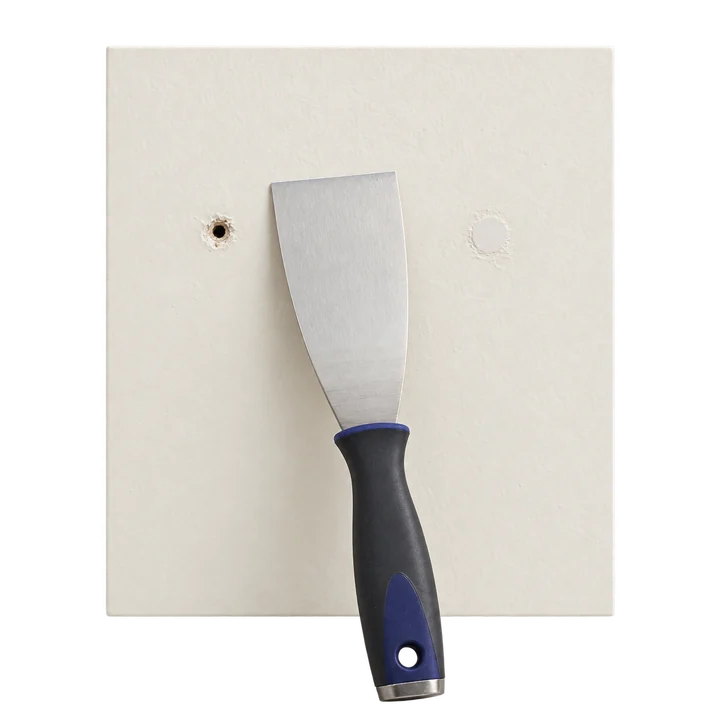
Do not repair a failed fixing by repeatedly driving in a larger screw. Unload the picture safely, assess the damage and choose a verified repair or a different position. Ordinary filler makes a cosmetic repair; it does not restore an anchor's rated support. The wall-hole guide explains making good after removal.
Can you hang pictures without nails or drilling?
Picture-hanging strips can suit a compatible frame and sound finish within the product's stated size and weight limits. They are not a universal substitute for mechanical fixings, and adding more hooks does not automatically increase a stated rating.
3M Command's UK FAQs say to check product limits and surface compatibility, and to wait until paint is fully cured and at least seven days old. The paint maker may require longer. Wallpaper, a weak coating or an unsuitable texture can undermine adhesion even when the wall itself is solid.
Use the preparation, application, waiting and removal method for the exact strip set. Keep release tabs accessible. Avoid treating 'removable' as a promise that every old painted wall will remain unmarked. Check the product's restrictions on valuable items and positions such as above beds before selecting it.
A just-painted room may look finished before it is ready for adhesive hanging. The drying and curing guide explains the difference. If you are unsure of the wall coating, discuss another hanging method or position.
What should you send for a picture-hanging enquiry?
Send the number of frames, dimensions, weights, rear-hardware photos, proposed layout and a wide wall photo. Mention new paint, old damaged holes, rented-property permission and any high or difficult position. For a group, a numbered arrangement helps distinguish positioning work from simply replacing a frame on a suitable existing support.
Picture and other wall-mounted-item enquiries can be assessed through the wall-fitting service. The Colliers Wood page covers wall-mounted items and room access; Teddington's fitting notes cover planning around existing furniture and fittings. Wall construction must be checked at the actual property, regardless of the neighbourhood.
See the pricing guide for confirmed rates. The number of holes alone is not a reliable time estimate: layout, assessment, fixings, handling and making good can all be part of the agreed work.
Sources used in this guide
Plan the picture, the position and the support.
Send the frame weights, back fittings and a wider photo of the wall, along with your postcode. Include the number of pictures, your proposed layout and any holes to make good.
For booked work, the minimum labour charge and first hour are £50 including VAT, followed by £25 per additional 30 minutes including VAT. Materials are extra at net cost plus 10%, then 20% VAT. There is no separate travel or parking charge. See the rates, materials calculation and quote checklist; the total depends on the agreed work.
Wall fitting enquiries are welcome from Kingston, Richmond and Merton.
Message me on WhatsApp