
What preparation does your wall actually need?
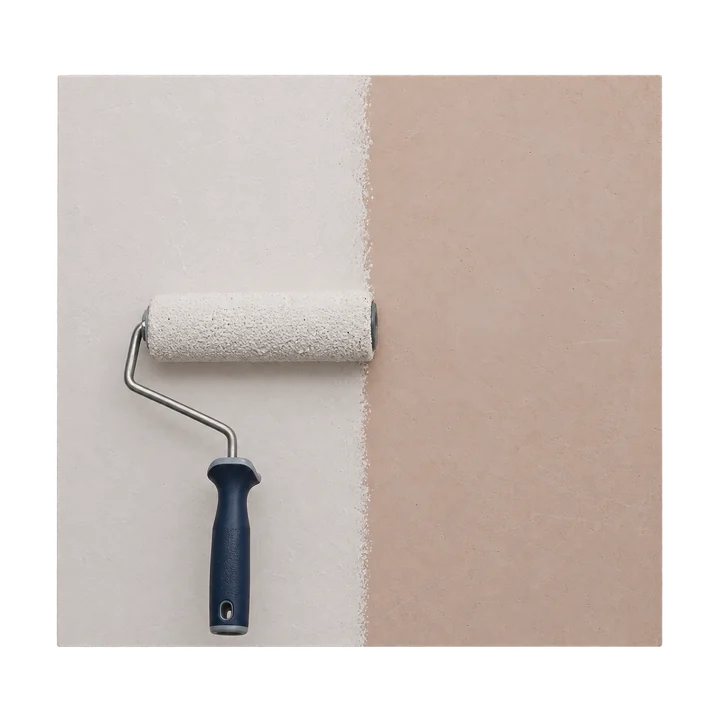
Inspect the whole wall in daylight before buying materials. Look behind furniture and around windows, previous fixings and repaired areas. Separate a defect in the paint from a problem in the wall underneath: another coat cannot secure loose plaster or stop a leak.
Scroll across to see all columns.
| Starting condition | Preparation decision |
|---|---|
| Sound existing paint | Remove contamination and follow the new paint's adhesion-preparation instructions. |
| Small holes or dents | Choose a suitable repair material; check its drying and coating requirements. |
| Bare new plaster | Establish readiness and the specified first-coat system before decorating. |
| Wallpaper recently removed | Check for adhesive residue, torn lining paper and damaged plasterboard facing. |
| Peeling, damp or soft areas | Find the cause and extent of failure before cosmetic preparation. |
Toupret's preparation guidance distinguishes a firm, coherent substrate from soft or powdery material and says moisture problems must be resolved before filling. If the coating is lifting, use the peeling and bubbling paint guide to plan the investigation first.
Clear and protect the room before starting
Remove pictures and portable items, and leave enough space to work along each wall. Cover furniture that must remain and protect the floor with suitable, stable coverings. Keep the route through the room clear. Prepare the ceiling and woodwork too if they are part of the job, so dusty work is finished before fresh paint goes on.
Have the cleaning materials, compatible filler, filling knife, dust-control equipment and product-specified protection ready. Use suitable steps or a platform on a stable surface; avoid balancing on furniture or stretching across a stairwell. High or awkward access needs a separate plan.
Mask around electrical fittings rather than loosening them as a decorating shortcut. Keep cleaning water and paint out of sockets and switches. For edges, choose tape suited to the surface and test it discreetly. FrogTape's Delicate Surface guidance includes suitability and removal instructions; those differ from ordinary masking tape and do not make an unstable coating safe to tape.
How should you clean the walls?
Remove surface dust, then assess dirt, grease and residues. Pay attention to cooking areas and frequently touched places around doorways. Use a cleaner compatible with the existing surface and intended coating, following its dilution, protective-equipment and rinsing instructions. Test a small area first, particularly if the old paint marks or comes away easily.
Dulux Trade Vinyl Matt's technical sheet calls for washing where necessary, clean-water rinsing and drying. Leaving detergent or preparation dust behind can undermine the next stage. Avoid soaking the wall, and let it dry before repairs or paint preparation continue.
After wallpaper removal, deal with the adhesive rather than painting over an unexamined surface. Remove residue by a method compatible with the wall. If adhesive remains or the plasterboard paper is damaged, ask about an appropriate repair and sealing system. Zinsser Gardz is one named product for certain adhesive residues and damaged drywall; it still requires a properly prepared surface and is not a substitute for removing loose material.
Repair defects and smooth only what needs it
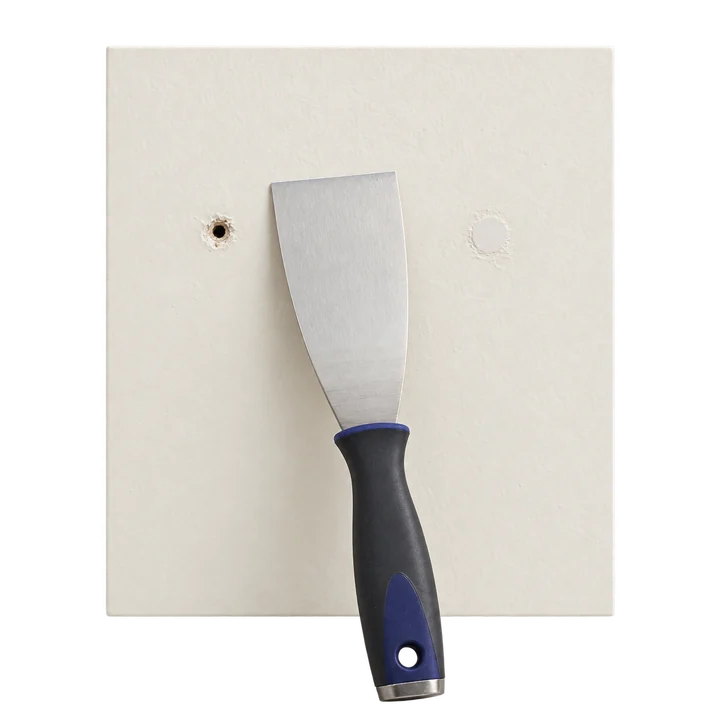
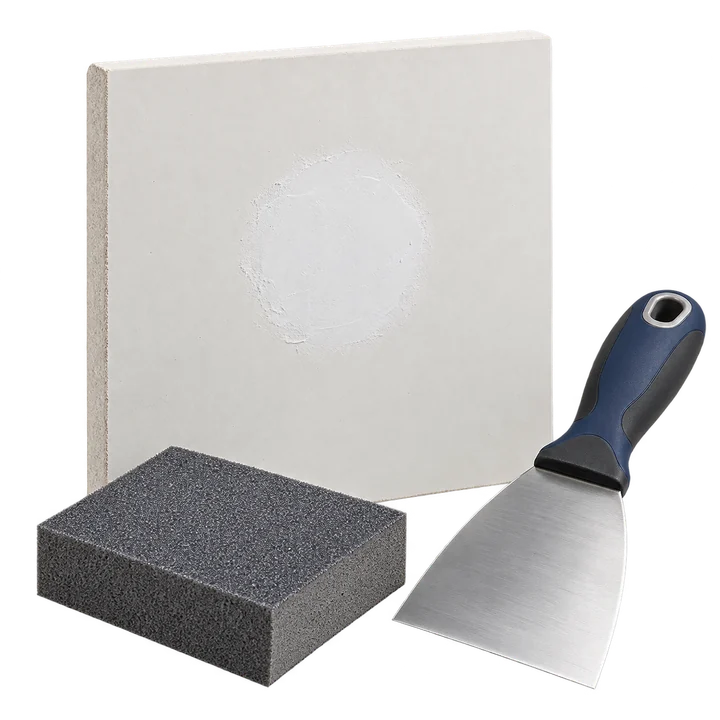
Choose filler for the wall material, defect and application depth. Complete small repairs before the final coating preparation, allowing the product to reach its stated ready-to-paint stage. The wall-hole repair guide covers filling and the separate need for a supported repair where plasterboard is missing.
Different fillers need different treatment. Toupret Interior Filler permits sanding and states that readiness for paint depends on the substrate, thickness and conditions. Use the instructions for the actual product rather than assuming every small patch is ready after the same interval.
Assess unknown older coatings before sanding or scraping. HSE identifies dry sanding of old paint as a lead-exposure risk. Some textured coatings contain asbestos, so do not abrade an unidentified textured finish either; get its material assessed first. Once preparation is appropriate, smooth repairs and raised edges with the specified method and dust controls. There is no benefit in stripping sound paint solely because you are changing colour.
Check the repair from the side as well as straight on. A ridge or hollow will remain visible through paint. If large areas are uneven or the plaster moves, arrange assessment of the underlying repair rather than spreading filler across the room without a plan.
Do you need primer on patches or the whole wall?
The answer depends on the repair material, old finish and new paint together. Small exposed areas may need local treatment; a broadly porous or unevenly absorbent surface may need a full preparation coat. Follow the selected system, not a blanket rule to prime everything or nothing.
- Sound painted walls: a separate primer may be unnecessary after the required preparation. Little Greene's primer guidance gives this option for its Intelligent finishes on previously painted walls in good condition.
- Filled patches: check both manufacturers' instructions. Toupret Interior Filler says it does not require spot priming; that statement should not be transferred to a different filler.
- New plaster: use the new-plaster painting guide to establish readiness and a compatible first coat. Do not apply a generic dilution recipe.
- Problem surfaces or stains: identify the cause and choose a treatment specified for it. An adhesion primer, porous-surface sealer and stain-blocking primer have different jobs.
For its own system, Little Greene specifies Wall Primer Sealer for appropriate porous, patchy or friable wall surfaces. Confirm that any proposed treatment suits your wall and finish. If instructions appear to conflict, ask the paint manufacturer before combining products.
The final check before opening the finish paint
Work around the room once more, with good light across each wall. Check these points before coating:
- The wall is stable, and any moisture or coating failure has been addressed.
- Cleaning residues and preparation dust are removed.
- Repairs are level and ready for the selected paint system.
- Required priming is complete and ready to receive the finish.
- Protection is secure, edges are accessible and masking is suitable.
- The room and surface conditions meet the paint's application requirements.
Plan the ceiling, walls and trim as one job, protecting each completed surface before moving on. Little Greene's room-preparation guide also puts clearance, protection and surface repairs ahead of painting. See how long to leave between coats when planning the next stages.
If a dried finish looks uneven, distinguish texture and coverage from adhesion failure before adding coats. The patchy-paint guide explains what to check.
What should you include in a decorating enquiry?
Send a wide photo of each wall and close-ups of the defects. Include the room size, existing finish if known, any recently stripped wallpaper or plastering, and your chosen paint. Mention furniture that cannot move and difficult access.
Say whether you want walls only or ceilings and woodwork as well. This helps separate a repaint from a job needing more preparation. My painting and decorating service covers discussing the surfaces and finish before booking; the pricing guide explains the confirmed labour and materials terms.
Sources used in this guide
- Toupret: preparing a painted wall for filling
- Dulux Trade: Vinyl Matt technical data, issued August 2025
- Toupret: Interior Filler preparation and coating instructions
- Zinsser UK: Gardz problem-surface sealer
- Little Greene: choosing a primer or undercoat
- Little Greene: preparing a room for painting
- FrogTape UK: Delicate Surface tape suitability and use
- HSE: precautions when working with old lead paint
- HSE: asbestos-containing materials, including textured coatings
Planning a room refresh?
Send your postcode, room photos and close-ups of the walls that need preparation. Include any wallpaper removal, repairs, chosen paint and whether ceilings or woodwork are part of the job.
Painting and decorating enquiries are welcome from Kingston, Richmond and Merton.
Message me on WhatsApp