
What kind of patchiness are you seeing?
Look at the wall straight on, then from an angle in ordinary room lighting. Note whether the patch follows a filled hole, a roller pass, the cut-in border or a previous touch-up. These observations help separate faults; a photograph alone cannot confirm the cause.
Scroll across to see all columns.
| Appearance | Possible explanation | Useful next step |
|---|---|---|
| Old colour shows through smooth paint | Incomplete hiding, sometimes called grinning. | Check the specified primer, coverage and coat sequence. |
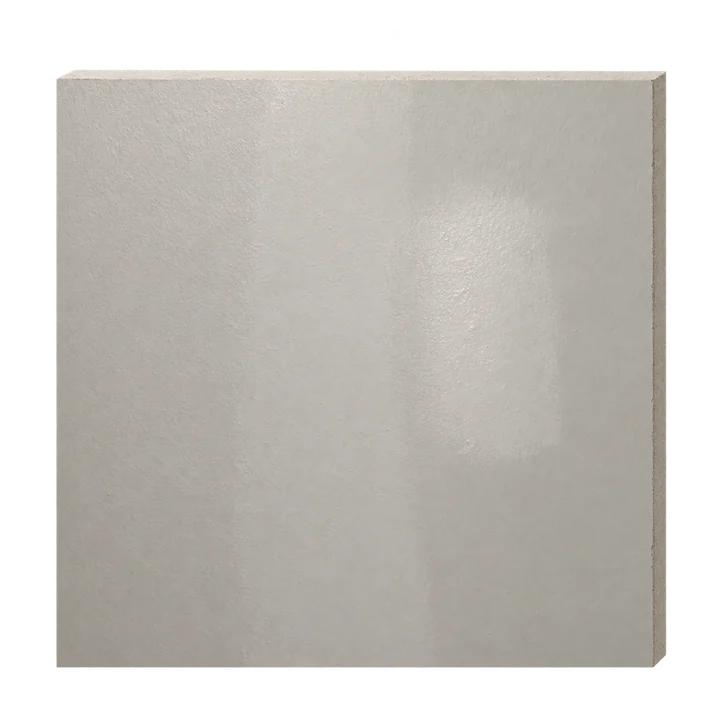
| Smooth patches look shiny or dull from an angle | Uneven sheen, often called flashing. | Compare absorbency, preparation and application across the wall. |
| Ridges, stipple or a raised repair cast shadows | A physical texture difference. | Assess surface correction before more paint. |
| Recently painted areas are changing appearance | The coat may still be drying unevenly. | Wait as directed, then reassess the whole surface. |
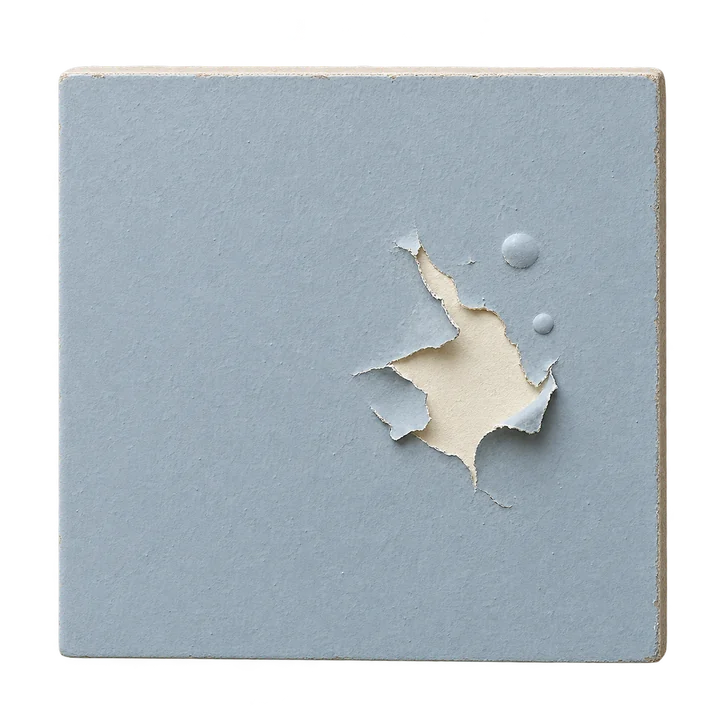
| Bubbles, lifted edges or recurring damp marks | Adhesion, moisture or substrate trouble. | Investigate the cause before a cosmetic repaint. |
If paint is lifting or blistering, use the separate peeling and bubbling paint guide. A change in sheen on sound paint is a different problem from a coating losing its grip.
Should you wait before deciding the finish is wrong?
Yes, if the paint is still drying. Record the product, when the coat was finished and the room conditions. Follow that product's instructions before assessing or recoating it; do not chase changing patches with a brush while the surface is setting.
As one example, Dulux Trade Vinyl Matt's technical sheet gives a 2-4 hour recoat interval for a single coat at standard thickness, with touch drying affected by temperature and humidity. That interval is not a universal deadline for every paint, wall or room.
The paint drying guide separates touch dry, ready to recoat and cured. If the surface remains soft or tacky, check the product and conditions instead of assuming another layer will settle it.
Why is the old colour still showing through?
A coating that has not hidden the background can look mottled even on a smooth wall. Dulux identifies uneven application, insufficient coats and an unsuitable primer or undercoat as possible contributors to this lack of opacity.
Check the actual coverage and coating system rather than counting coats alone. For its Optiva emulsions, Tikkurila warns that spreading too little paint or overworking it can leave poor hiding. This is not advice to apply every paint thickly: use the quantity, tool and application method for your exact product.
A further correctly applied coat can help when the base is sound and the problem is coverage. If several coats have left the same outlines, reconsider the diagnosis before repeating the process.
What is paint flashing, and how is it different?
Flashing describes an uneven sheen: one area reflects more light than its neighbour. Dulux's explanation of poor sheen uniformity identifies uneven porosity or application as possible causes. Use the technical sheet for your own paint to choose a compatible preparation and repainting method.
For example, a smooth filled patch might look close in colour when viewed head-on but duller in light from a side window. A roller ridge can also catch that light, so inspect the surface shape before deciding the problem is only sheen. More paint cannot reliably disguise a physical step.
Keep the comparison consistent: same wall, same light, after the coating has dried as directed. Then check whether the repaired and surrounding areas received compatible preparation and the same finish.
Why is filler showing through the paint?
A filled area may differ in level, texture or absorbency. Check those separately. If it stands proud, the repair needs suitable finishing; if it is smooth but visibly different, investigate the filler and coating combination. The wall-hole guide covers making the repair level and ready for decoration.
Spot priming is not a rule for every filler. Toupret Interior Filler states that it needs no spot priming. Dulux Trade Vinyl Matt specifies its own sealing treatment for new or bare surfaces. Check both products' instructions and ask the suppliers if the combination is unclear; do not add a random primer or dilute paint by eye.
A whole freshly skimmed wall needs a different assessment from a few repaired holes. Follow the new-plaster guide for that starting surface.
Why do roller marks or darker borders remain?
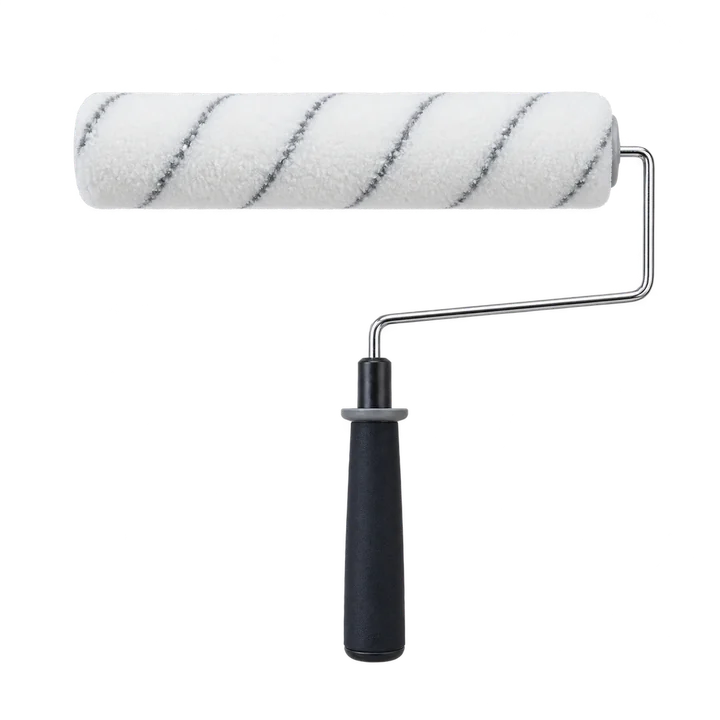
A border around a wall is sometimes called picture framing. Tikkurila describes it in its emulsions when the brushed edge has a heavier film than the rolled centre. Tool marks, film thickness and light can make a border visible without the paint being a different colour.
Follow the chosen paint's cutting-in, rolling and wet-edge instructions as a set. Tikkurila's guidance allows its stated edge treatment without an unbroken wet edge; that is not permission to rework every partly dried paint. Avoid combining a technique from one range with the dilution or handling advice for another.
Valspar distinguishes raised roller or brush marks from thin coverage. Raised defects need an appropriate correction method once ready. Before abrading old or unidentified coatings, establish whether hazardous-material precautions are required; sanding the entire wall is not an automatic first step.
Can you touch up the patch or should you repaint the wall?
A small touch-up is worth considering only where the existing finish is sound and you can identify a compatible matching product. Record the range, colour, sheen and batch if available. The same colour name in another finish is not the same coating.
Valspar's repair guidance recommends matching the original application method. A brushed patch on a rolled wall can leave a texture difference. Even a carefully applied repair may remain visible: Little Greene advises repainting a larger area rather than touching up, noting possible variation between batches.
If the patch remains obvious after drying, discuss repainting the full wall to its natural corners or other clear boundary. That provides a continuous application area rather than an expanding collection of spots. Correct any preparation or surface fault first; a whole-wall repaint is not a cure for damp or loose paint.
What should you check before repainting?
Gather the information before buying another tin:
- The paint's full name, finish and colour, plus the primer and filler used.
- When each coat was applied and how it was diluted, if at all.
- Whether the difference is colour, sheen, raised texture or a changing wet patch.
- Close-up and whole-wall photos, including the edges of previous repairs.
- Any peeling, recurring stain, leak or recent plastering.
The wall-preparation guide helps plan the next sequence. If you want help with interior painting and decorating, include whether you want a local repair assessed or the wall refreshed. Agree the preparation and finished area together, rather than just requesting another coat.
Sources used in this guide
- Dulux Decorator Centre: common paint defects and incomplete coverage
- Dulux Trade: Vinyl Matt technical sheet, issued August 2025
- Tikkurila UK: coverage, picture framing and application differences
- Dulux Trade Australia: explanation of poor sheen uniformity
- Toupret: Interior Filler and its spot-priming requirements
- Valspar: uneven patches, tool marks and touch-up technique
- Little Greene: touch-ups, batches and sample-pot finish
Show me the patch and the whole wall.
Send your postcode, a close-up, a wider photo and the paint details if available. Tell me when it was painted, what preparation was done and whether you want a small repair assessed or the wall repainted.
Painting and decorating enquiries are welcome from Kingston, Richmond and Merton.
Message me on WhatsApp